Installing a plaster wall
Installing a plaster wall: Neatly divided spaces with comfort and acoustics
Installing a plaster wall is an efficient way to logically divide spaces, conceal pipes, and improve acoustics without major structural interventions. You can create partition walls, a niche for cabinets or equipment, or optically and technically upgrade an existing wall with a cladding wall. Thanks to its low weight and quick installation time, disruption is minimized, and the result is sleek, flat, and ready for finishing with paint, wallpaper, or decorative panels. By choosing customization, you can adjust thickness, insulation, and finishing to your needs, ensuring the wall provides what you need: quieter sound, straight lines, and durable stability. It’s precisely this balance between speed and quality that makes installing plaster walls attractive for renovation and new construction.
Construction: Light and rigid at the same time
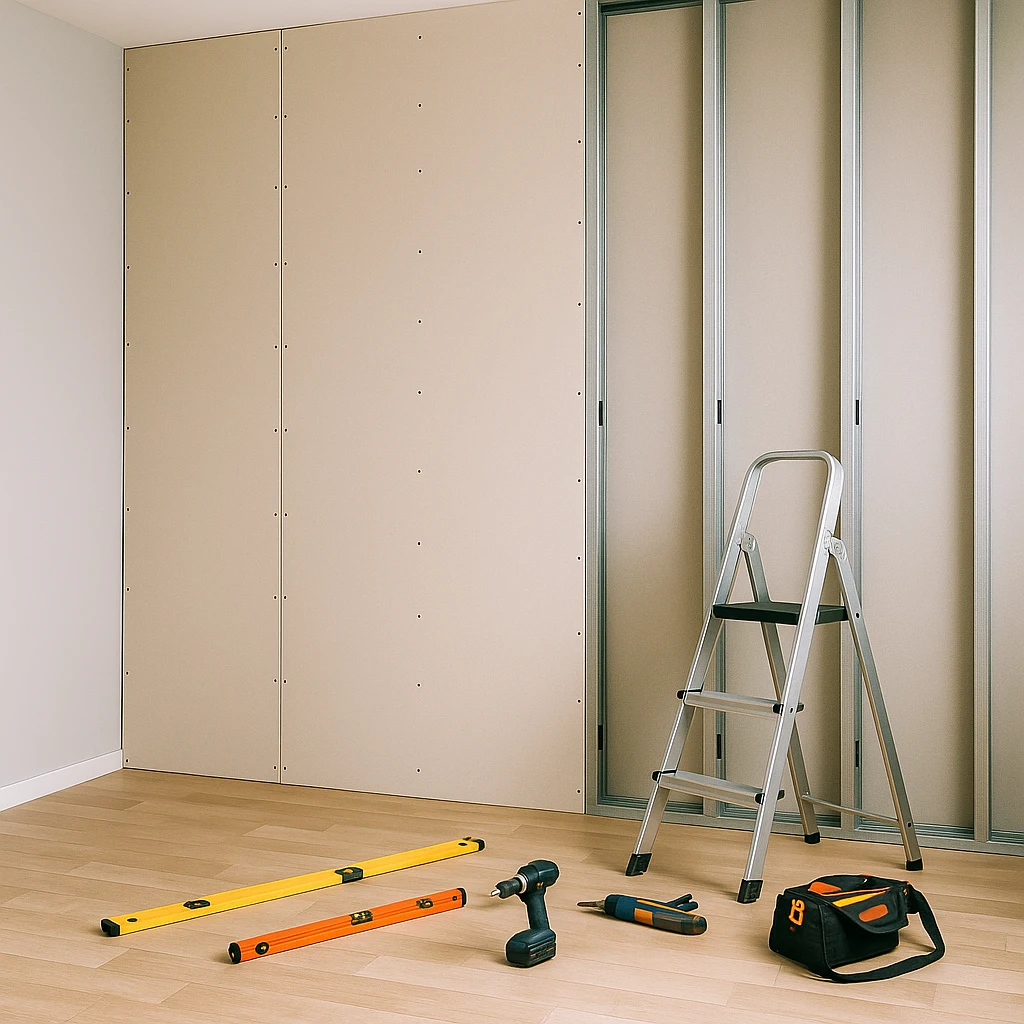
A modern plaster wall consists of a metal frame with U-profiles on the floor and ceiling and C-profiles as studs. This skeleton provides shape and rigidity. Insulation is applied between the studs when acoustics or thermal comfort is important. On the visible side, you screw on plasterboards, single or double, depending on the desired strength and sound reduction. This creates a flat, demountable construction that adds little weight but can be finished very neatly. It’s this predictable construction that makes plaster wall installation reliable in planning and quality. Moreover, you can easily incorporate cables, boxes, and pipes into the frame, making the wall technically ready for sockets, networks, or lighting.
Partition wall or cladding wall: The right type for each situation
For practical layouts, you usually use a partition wall. The choice of profile width, board thickness, and single or double cladding determines impact resistance and acoustics. If you want to insulate a cold wall or smooth out an uneven surface, a cladding wall is more logical. The principle remains the same, but the focus is then on flatness, connection details, and thermal bridge-free installation. By determining the function in advance, you prevent over- or under-dimensioning. With a well-thought-out detail plan for skirting boards, reveals, and ceiling joints, the line remains sleek throughout the interior. That’s precisely why installing plaster walls is a popular intervention in both residential and work environments.
Fire safety and moisture resistance
Depending on the space, there are requirements for fire resistance and moisture. In stairwells, hallways, or residential partitions, a certified construction with tested combinations of profile, insulation, and cladding is essential. In bathrooms or on exterior walls, a moisture-resistant board and a correct vapor barrier construction are the basis for durable finishing. Ask specifically for the right specifications per application. Installing a plaster wall with the right board package and carefully sealed joints prevents issues like mold, peeling plaster, or cracking due to temperature fluctuations.
Planning and Timeline
The strength of prefab profiles and dry construction is speed. In an average home, you can install a plaster wall within a few days, including insulation, cabling, and cladding. Joint finishing and curing take a short time before painting or wallpapering can begin. In business environments, you align work with openings in the schedule, where dust-reducing measures and clear walkways largely leave daily operations unaffected. Good preparation is the difference between a quick, neat delivery and unnecessary delays. Consider timely material selection, cleared work zones, and clear agreements on socket heights, skirting boards, and reveals.
Quality control upon delivery
Upon delivery, check if joints are flat, corners close tightly, and connections are neatly sealed. Go through fixed points: straight stud line in view, correct door size, flat switch installation, undamaged board edges, and an even sanding pattern. A short checklist prevents post-move-in rework. It’s precisely this attention to detail that makes plaster wall installation a predictable process: clear start, sleek finish.
Frequently asked questions, concise and businesslike
Can this be done on a wooden floor without extra measures
Yes, provided you work with a light metal stud construction and suitable fastening in beams or subfloor. Expansion joints and a decoupled connection keep cracking limited.
How much sound does it reduce approximately
That depends on construction and mass. Double cladding with mineral wool in wide profiles dampens noticeably better than a light version. Let the construction be tailored to your desired dB gain.
What if I want to add a door later
Provide extra studs at door positions now or leave a loose opening in the frame. Then the intervention later is limited to finishing.
Is a niche or hanging cabinet possible
Yes. With backing wood and double cladding, sufficient attachment points are created. Plan this in the rough construction, then the front remains sleek and crack-free.
How do I prevent cracks at the ceiling
Work with a shadow joint or a flexible sealant joint and take into account the movement of building parts. Correct screw distances and joint tape are just as important.
Step-by-step plan in brief
- Assess function, acoustics, and any fire or moisture requirements.
- Determine wall type, profile width, insulation, and cladding.
- Work out connection details and installations.
- Install profile, set studs square, and apply insulation.
- Screw cladding, joint, sand, and finish.
With this rhythm, plaster wall installation remains manageable and prevents surprises during execution.
Summary: Sleek result with technical certainty
If you want to quickly divide, dampen sound, and conceal cables, installing a plaster wall is a logical choice. The combination of fast construction pace, high finishing quality, and flexible technique makes the solution suitable for homes and professional environments. With the right construction, you ensure quiet rooms, straight lines, and reliable attachment points. By planning well in advance and critically looking at construction and details, installing plaster walls becomes an investment that is noticeable every day in peace, comfort, and appearance.
What are the advantages of installing a plaster wall?
A plaster wall is light, quick to install, and neatly finished. You can use it to divide spaces, conceal pipes, and improve acoustics without major structural interventions. The construction is flexible, demountable, and suitable for renovation and new construction.
What is the difference between a partition wall and a cladding wall?
A partition wall divides spaces and requires a sturdy, acoustically strong construction. A cladding wall is mainly used to smooth or insulate uneven walls. Both walls consist of a metal frame with plasterboards but differ in function, thickness, and finish.
Can I install a plaster wall in damp areas like the bathroom?
Yes, provided you use moisture-resistant plasterboards and work with a correct vapor barrier construction. Good ventilation and carefully sealed joints prevent mold and peeling plaster.
How long does it take to install a plaster wall?
In an average home, the wall is installed within a few days, including insulation, cabling, and cladding. Then follow the jointing and drying, so that painting or wallpapering can be done.